|
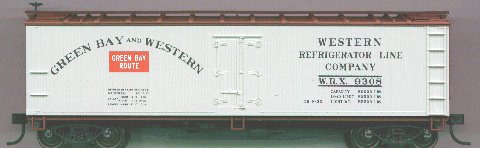
Western Refrigerator Lines was formed in 1929 to lease a fleet of
refrigerator cars to Green Bay & Western customers.
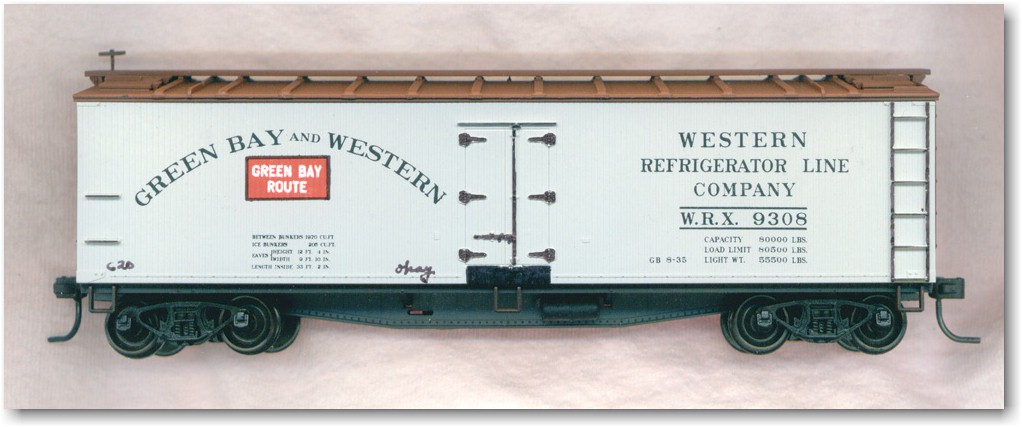
Their roster consisted mainly of a fleet of wood reefers from
American Car and Foundry. The cars were originally lettered in
a serif font with GREEN BAY AND WESTERN
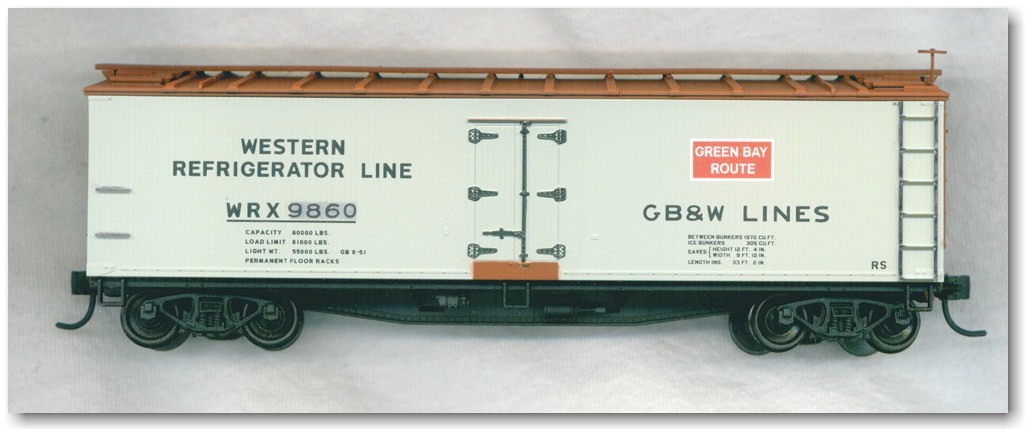
in an arch on the left side of the car. In the late 1930s, the
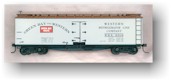
cars were repainted in a simplified sans serif font with
GB&W LINES on the right side of the
car.
Accurail makes their 40' wood refrigerator car model painted in
the original GREEN BAY AND WESTERN
serif font lettering of the 1930s and 1940s. They also offered
a limited-run kit at Trainfest 2004
(in Milwaukee, Wis.) lettered in the sans serif GB&W
LINES lettering used from the the 1940s through the
1960s.
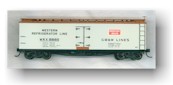
Andy Laurent shares
these tips on how he improved his 1950s era models, including
renumbering the cars and matching the colors used on the sides and
ends of specific cars. These steps also apply to the 1920s-30s
era models as noted.
1. Disassemble the car body.
The car sides are removable from the car body, which makes
painting the ends, roof and sill of the model much easier. Working
from the inside of the car, use a Phillips screwdriver to gently
push the top center pin which holds the car side to the car body
through the hole in the car body. Then push out the pins at
the top ends of the car sides, then the bottom ends, and finish
with the pin at the bottom center of the car side.
2. Mask the car sides and paint reefer gray
over the printed road number.
Based on Accurail's
paint information, Floquil Polly Scale Southern Pacific
Lettering Gray #414179 or Modelflex Southern
Pacific Letter Gray #16-39 would be a good match.
As an alternate, a modeler could softly scrub the area with a
mild abrasive or solvent (such as the end of a pencil eraser and
Soft Scrub cleanser or rubbing alcohol) to remove the printed
numbers.
3. Renumber the car sides with new decals.
Andy made his decals from the number set at wrxnumbers.htm.
The lettering should be scaled to 9 scale inches high on your
printer (0.100" actual). If you have an ink jet printer you
can use a water slide decals kit (such as SuperCal)
or if you have access to a laser jet printer or copier you can
print the numbers directly on standard decal paper. Scale Rail Graphics
is reportedly working on a set of black and white decals which can
be used to number the car sides and ends. (We'll have
information when they are available.)
4. Assemble the brake wheel and post and
apply to it to the model.
The bare metal of the brake wheel post needs to be painted to
match the car ends, so make sure it is added before you proceed
with the following steps.
5. Mask the WRX initials and car numbers on
car ends
Skip this step if you plan to add correct, larger WRX letters
and numbers to the car ends. In that case, the entire car
end will be painted and decaled, and no masking is necessary.
6. Mask the kick plate under the car door.
The Accurail car lettered in the 1930s-40s scheme is painted
the same gray under the door that he rest of the car sides is
painted. The entire area under the door should be painted to
match the ends of the car. The Accurail car lettered in the
1950s-60s scheme has the kick plate under the door painted the
same oxide red that the ends and roof of the car is painted, but
it should be repainted the in same new color that the ends and
roof will be painted.
7. Paint the car body (without the sides)
oxide red. Also paint the kick plate on the car sides.
Based on Accrual's paint information, Floquil Polly Scale Special
Oxide Red #414354 is a good match for the oxide red used on
the ends and roofs of the car. Andy used Wal-Mart Colorplace
red oxide primer.
8. Mask off bottom 12" of the car
body.
This is the portion of the car body below the rivet line which
will be visible under the car sides. The standard color for
this area is flat black. If you plan on detailing the car in
this scheme, it will be painted in the next step.
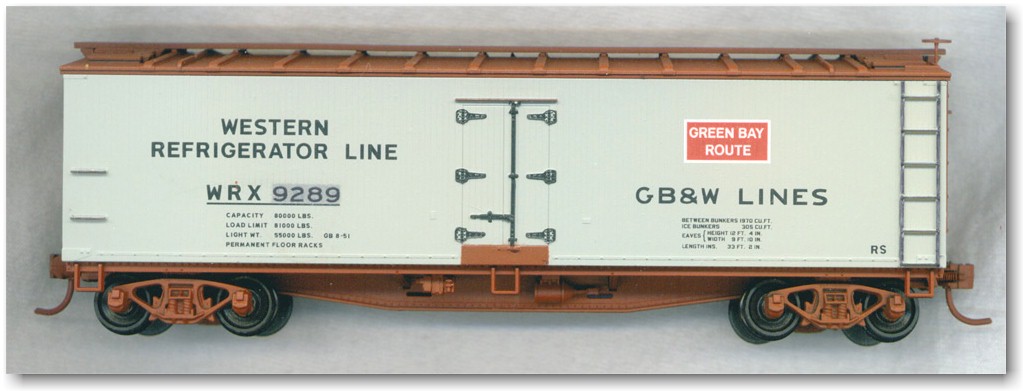
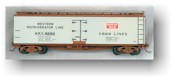
... but there is a 1962 color photo of a WRX reefer with
oxide red underframe and trucks on page 44 Andrew Nelson's Green Bay
& Western Color Pictorial from Four Ways
West Publications. There are not a lot of color
photos from this era and we are not sure if this was a unique
car or if the paint scheme changed from black to oxide red by
this time. If you want to paint the car with this scheme,
mask the car body and paint it oxide red with the other parts in
step 7.
9. Add new white end numbers.
The end numbers can be made from the lettering set at wrxnumbers.htm,
otherwise a Scale Rail
Graphics set of white numbers should be available soon.
10. Assemble the underframe and paint it flat
black. Paint the bottom 12" of the car body flat black
also.
If you are making a model based on the 1962 photo in Nelson's
book, the bottom 12" of the car body has been already painted
oxide red and need not be painted in the step.
11. Paint the side ladders and grab irons
black.
12. Reassemble the model.
Reassemble the sides to the car body, glue the weight to the
underframe, and assemble the car. You'll probably want to
coat the car with a dull finish such as Testors Dullcote
#1260 to remove the shine of the new decals. The Accurail
kit comes with plastic wheels and Accumate couplers. You can
use them on your car or replace them with other wheels and
couplers of your choosing.
|
